In the last few weeks, most of my attention has been put into my 1st car—my daily driver since 2017—a 2005 Chrysler PT Cruiser (Non-Turbo, Touring Edition). This car has been fairly reliable, if not a little quirky (to say the least). It leaks power steering fluid, it eats tires, I’ve rebuilt the frontend suspension, and the current KBB on it is $256. In just under eight years, I ran over a crate, hit a guardrail, and my roommate accidentally backed over my bumper and ripped it off (he had a late 90’s Toyota Land Cruiser at the time). The brakes are new, the muffler is rusting off, the car is painted a few different colors, and it gets about 23 MPG.
Since my recent interests have leaned toward backyard auto-mechanics and my bills have been low, I’ve spent much of my time and money on tools and parts for both of my cars. With the Element mostly fine, my focus has been on the Cruiser as it is getting up there in years and has not been maintained nearly as well as it should have been.
The Camshaft knows where it is because the Crankshaft knows where it isn’t
Back in May, I replaced the camshaft position sensor as my engine started shuddering and misfiring before throwing a relevant code. I grabbed a new sensor, slapped it on, and went about my day. Last week, my car shuddered and misfired again. I pulled over, scanned the ODB, and got the verdict: Bad crankshaft position sensor. Generally, shops replace both at the same time if one goes out, they’re cheap hall-effect sensors and fairly easy to replace, I’m just lazy and put it off until it was an issue.
This turned out to be quite the project and replacing this simple sensor took around four hours for two reasons: There was a support bracket in the way and the sensor itself seems to have deteriorated. I got the Cruiser up on ramps, got the three 15mm bolts out of the bracket, then the 1st 18mm bolt came out without much fuss, but that 2nd one took a very long time. The bolt is long, tucked away at the top of the bracket, and sandwiched between the radiator, radiator hose, and engine block. After trying half-a-dozen tool combinations ranging from simple extensions, to universal joints, to power tools (not enough room), I landed on a combination of a breaker bar, 10” extension, and 1/2” universal joint socket.
Many, many turns later, the bolt was free and the bracket came loose. Problem #1 solved. Next came the sensor itself.
I removed the connector, loosened the tiny bolt holding the sensor on, and gave it a tug. The sensor came free, but didn’t look right. Turns out it partially broke-off inside of the engine and needed to be extracted. This left me with few options as space was scarce and as it was a smooth, plastic tube stuffed into a purpose-made hole; it didn’t want to budge. I eventually stuffed a flathead screwdriver in there and walked it out. I felt around the hole and confirmed that there weren’t any other pieces in there nor were there any scoring marks in the chamber.
I popped in a new sensor, bolted it in, and put back the three 15mm bolts, the 1st 18mm bolt, and struggled all over again—but in reverse this time—to put the 2md 18mm bolt back.
I cleared the codes, fired up the engine, and I haven’t had any issues since.
Drum Roll (Please)
While brakes are (arguably) the most important aspect of car functionality, it seems a lot of people ignore them until a problem has developed. These big problems tend to be the result of ignoring or not noticing small issues and the monetary cost of them tends to snowball with time. I did a brake pad and rotor swap for the Cruiser a few months ago without issue. I even wire brushed the calipers to clean them up a bit, but I didn’t replace them as they aren’t leaking and I’m getting to the point where I don’t want to dump too much money into it.
I knew it would be a good idea to at least check the shoes on by rear brakes. I still have no idea why any car chooses to have both disc and drum brakes on a single car, but that’s not important now. I bought new shoes, drums, and a hardware kit for the springs and whatnot. When Saturday came around and all the parts were in, I got to work. I then was swiftly roadblocked as when I took my wheel off, I discovered that the drums were seized in place and I wasn’t getting them off by hand. I tried hammering, penetrating oil. more hammering, adjusting the brake shoes, more hammering, and even hammering from behind with a screwdriver. When these all failed, I broke down and spent $40 on a 12” gear puller on Amazon. It was on my porch Sunday morning, I positioned it on my drum, hit it with the impact, and it popped free.
A wave of relief washed over me, but my work was just getting started. I took lots of pictures of the spring assembly and noticed how paper thin my brake shoe material was. Glad I changed them when I did!
I removed the assembly, cleaned up the dust shield, greased up some wear spots, checked the cylinders, and put the new shoes in place. I confirmed that the new drums fit on the shoes and that all the functions work as expected. I took the new drums off, spray painted them bright red, put them back in place, tested the brake friction, torqued the wheels on top, and went for a test drive. Braking was not great, definitely needs adjustment. I found some time a few days later and got them to brake a little more evenly, albeit probably looser than they should be. I can stop fine in the rain, so I should be good.
Clean, Mean, and Toast Machine
I felt kind of listless last weekend and thought it was about time to wash and polish the orange beast. I scrubbed it top-to-bottom, ran some plastic trim restorer over the grey bits, popped all the wheels off to hit them with some wheel cleaner, and covered the paint with some once-a-year car polish. She’s nice and shiny now (until it rains and gets muddy again) and the plastic restorer should help keep the grey trim from turning white.
Update: I’m not sure if it was the polish or the trim restorer, but it has started turning white again just a week or so after the initial application. I plan to try this Solution Finish product soon, perhaps changing my grey trim to a black. Going from the stock color scheme to a more Halloween-type theme.
Moll-E: New Name for my E?
HRG Offroad makes a set of metal molle panels that affix to the rear door and quarter panel windows. These add a neat style to your E as well as a sorta-functional matrix that you can mount military-themed stuff onto. I currently have some little 4” square velcro patch panels on them that I plan to put some of my morale patches on (eventually). They are fairly destructive to install, requiring that one drill holes into the plastic trim and the inner metal of their car. I did this for my rear doors, but I may eventually get the rear quarter panel set as well (driver’s side and passenger’s side). It’s around $500 for all four panels which is steep, but if you’re interested, add them to your ebay watchlist and you may get lucky if the seller offers a slight discount offer (like what happened to me, I think I got mine for $9 off).
Not a lot going on repair-wise on the E. I have some ideas in the mix to finish painting my PT Cruiser; it is currently black and gold (tan), but I plan to maybe paint something on it. Graffiti? Camo? Not sure yet, I’ll make another post when I have some more pics to share. Until then, enjoy some new Element pics!
Recent E Pics:
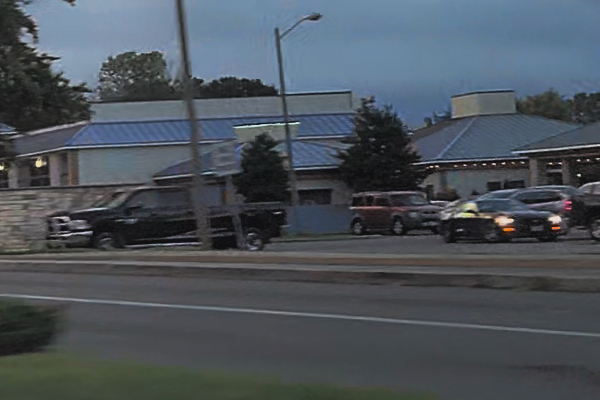
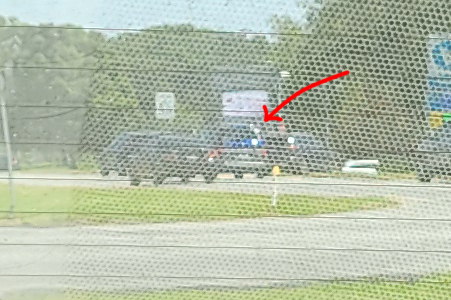
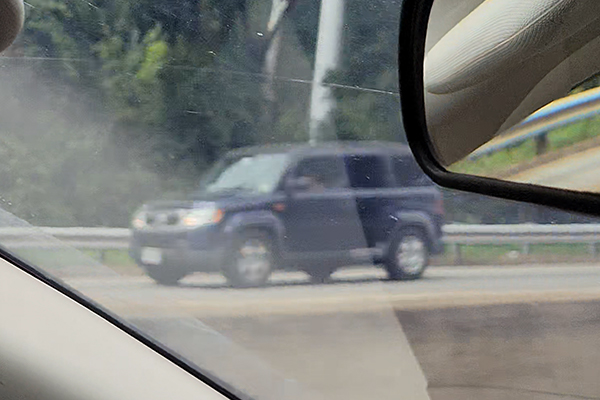
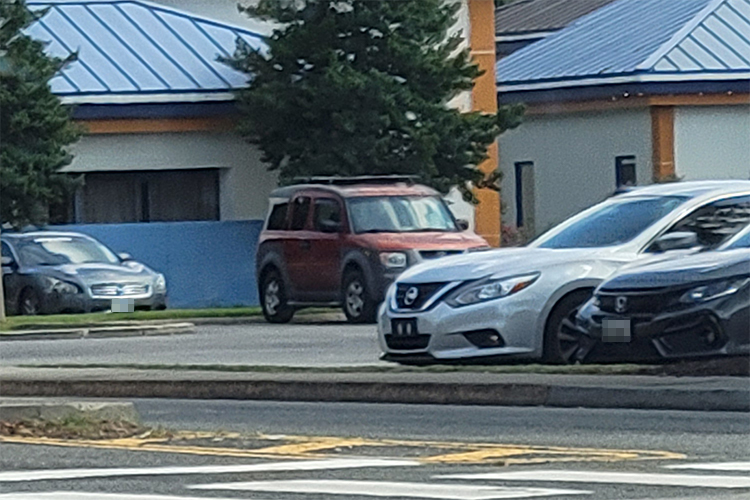
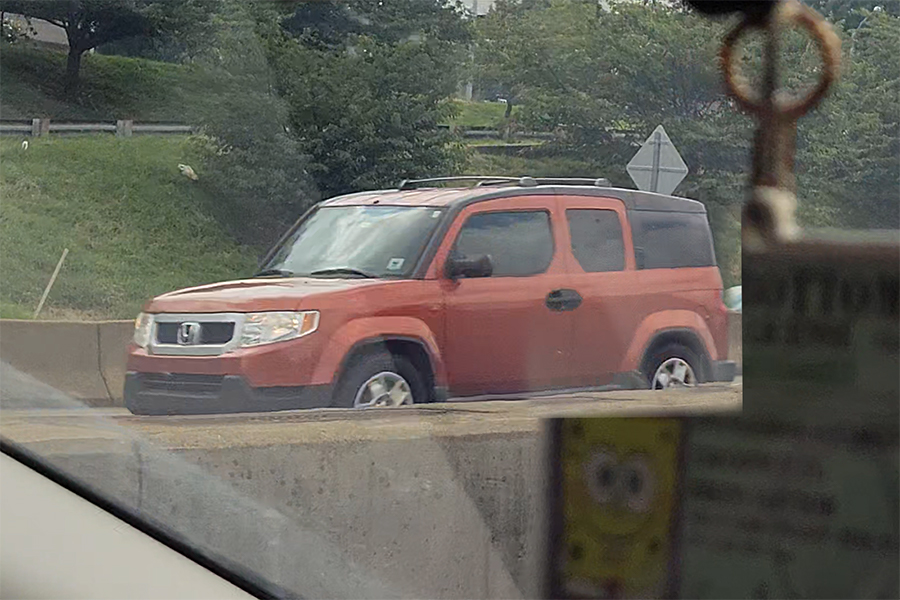
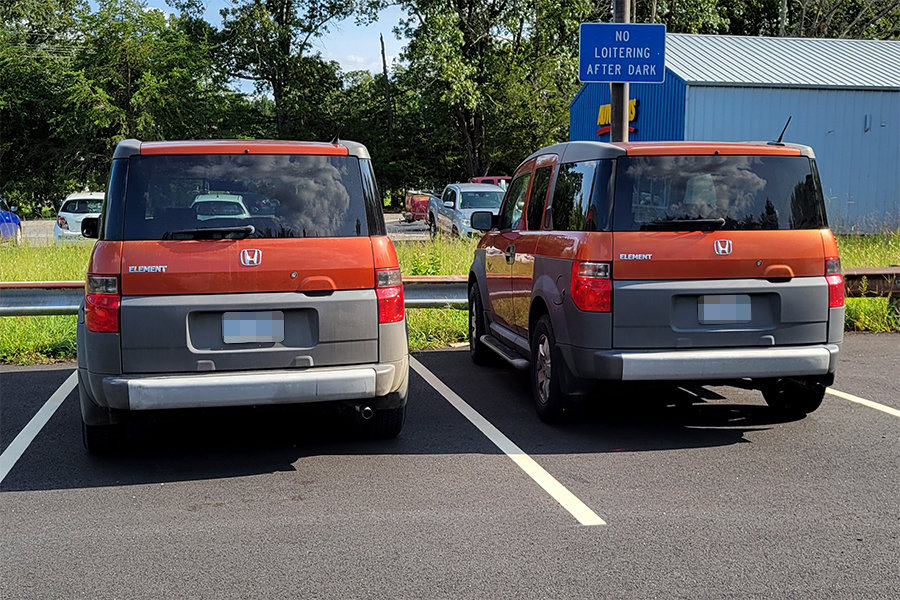
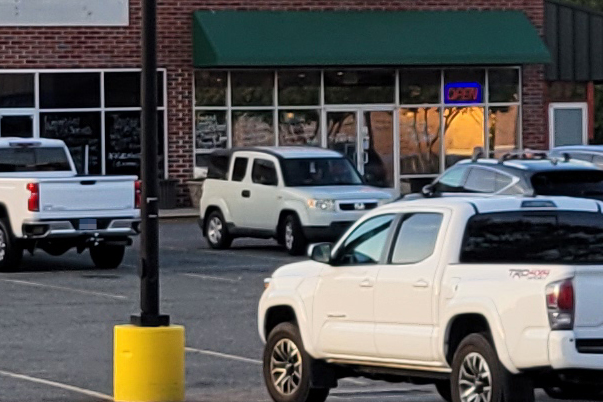
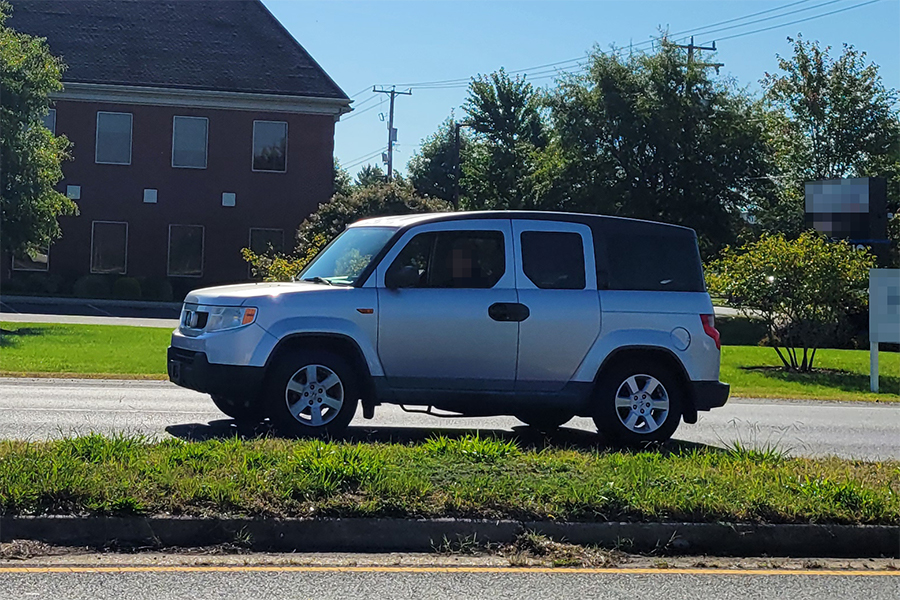
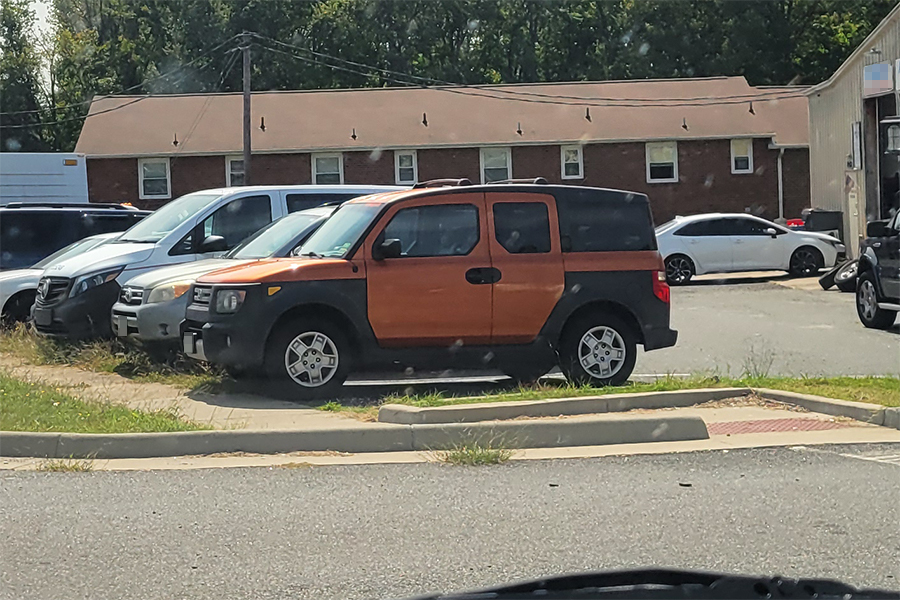
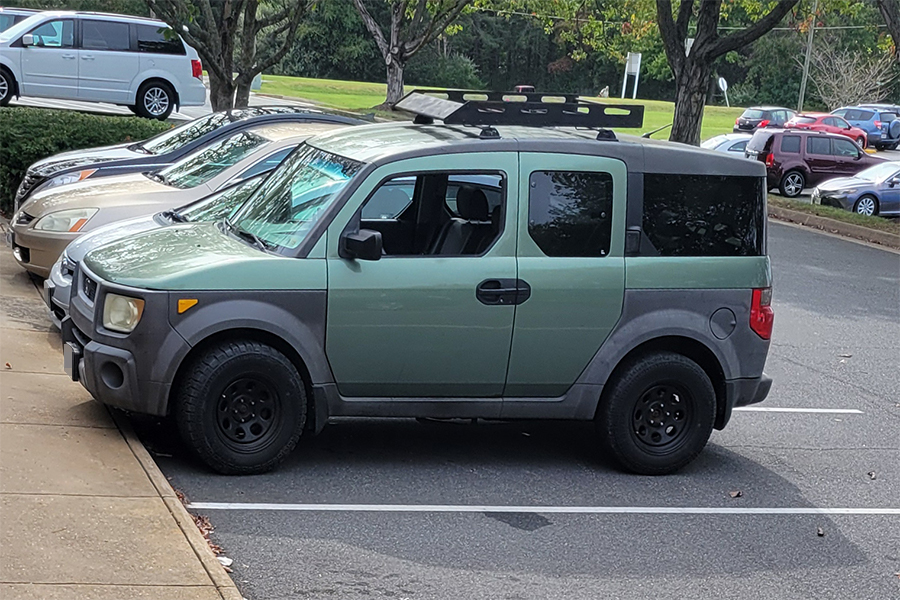
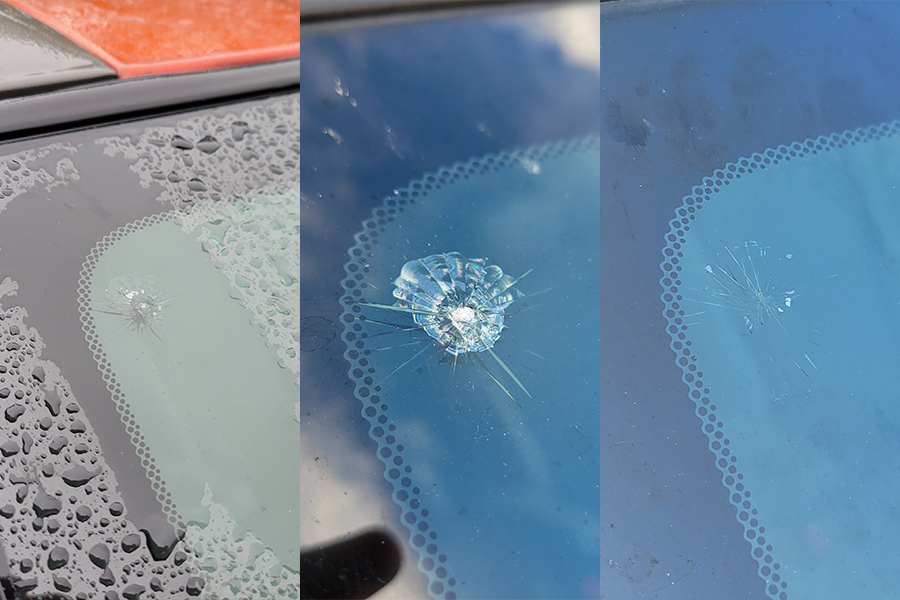
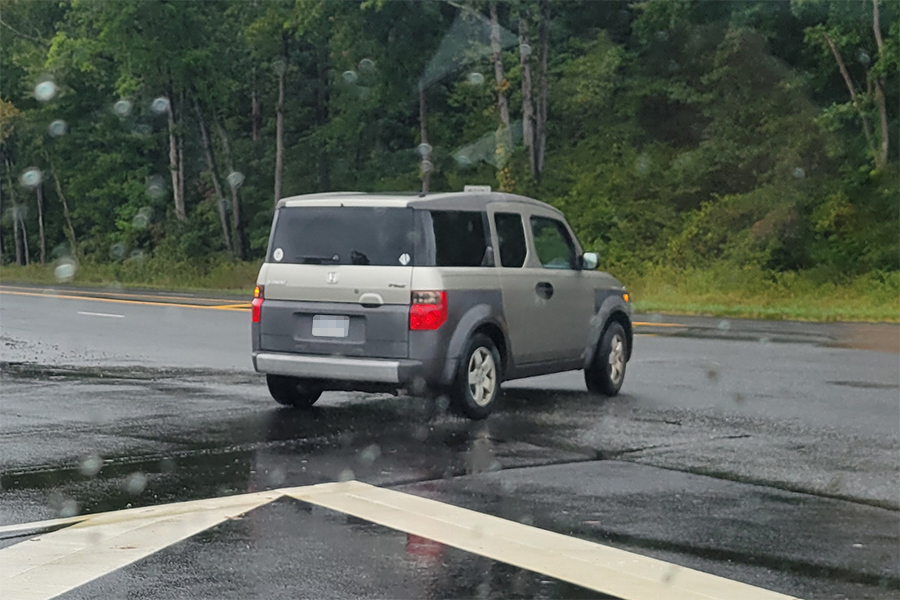
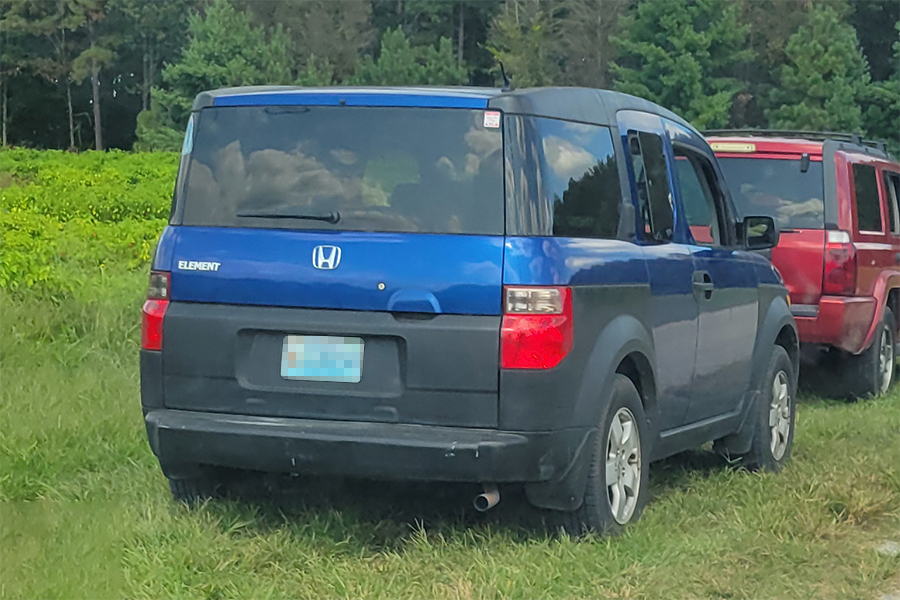
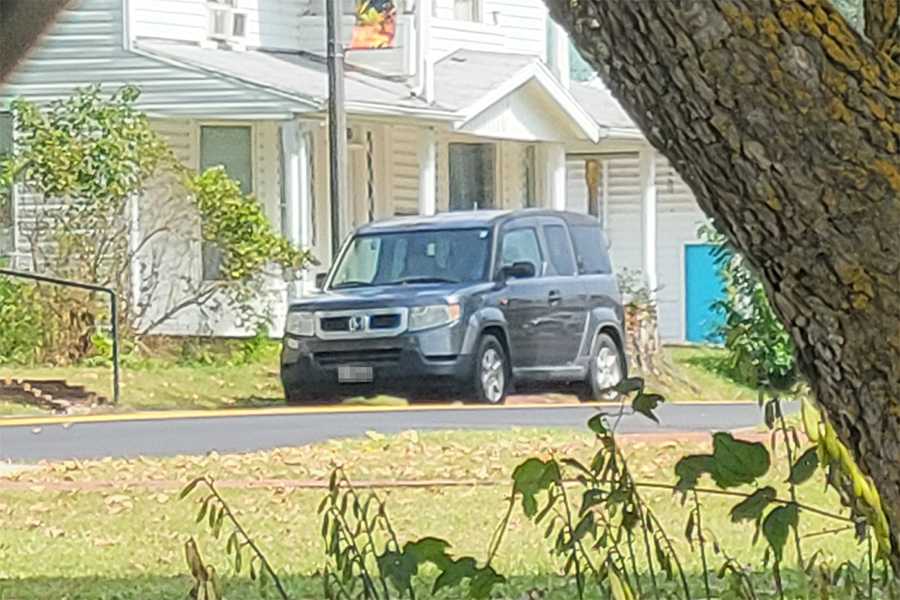
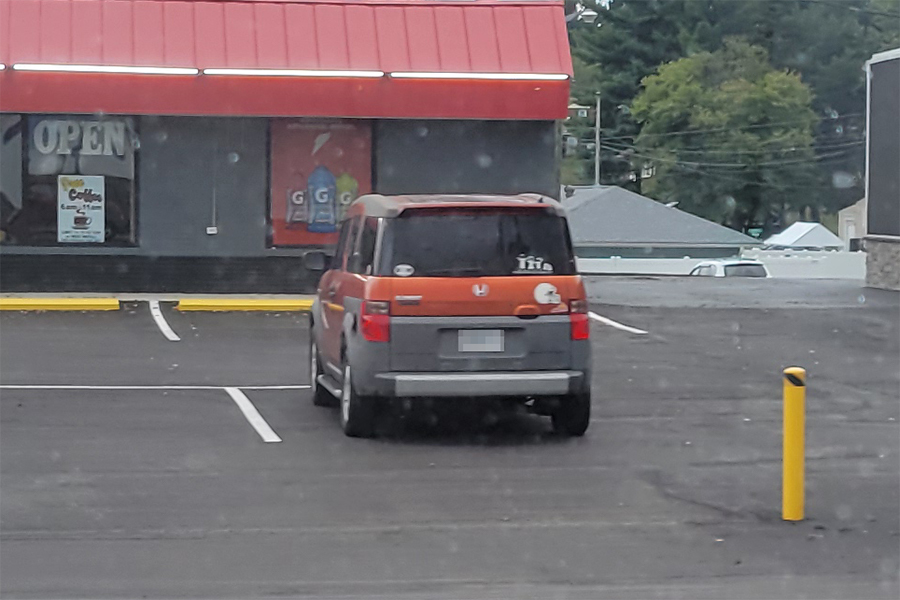
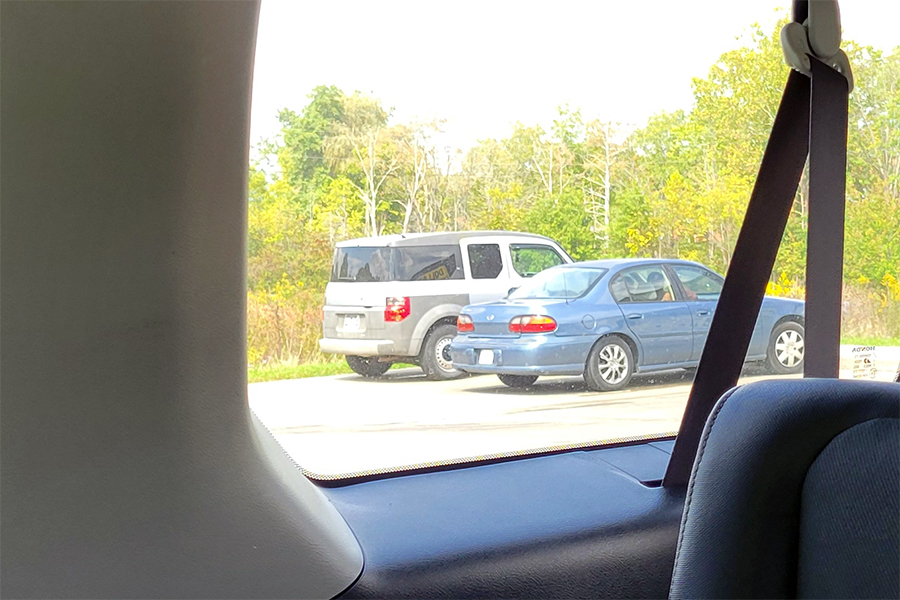
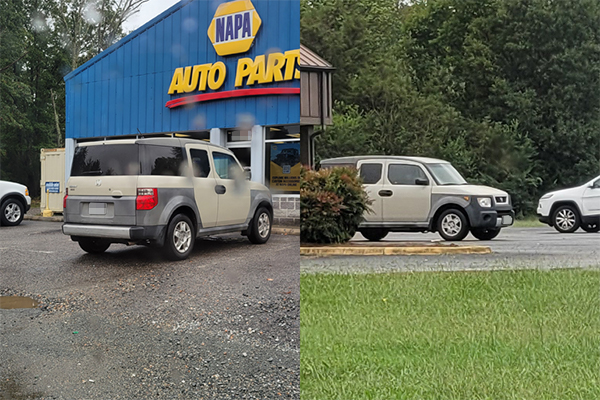
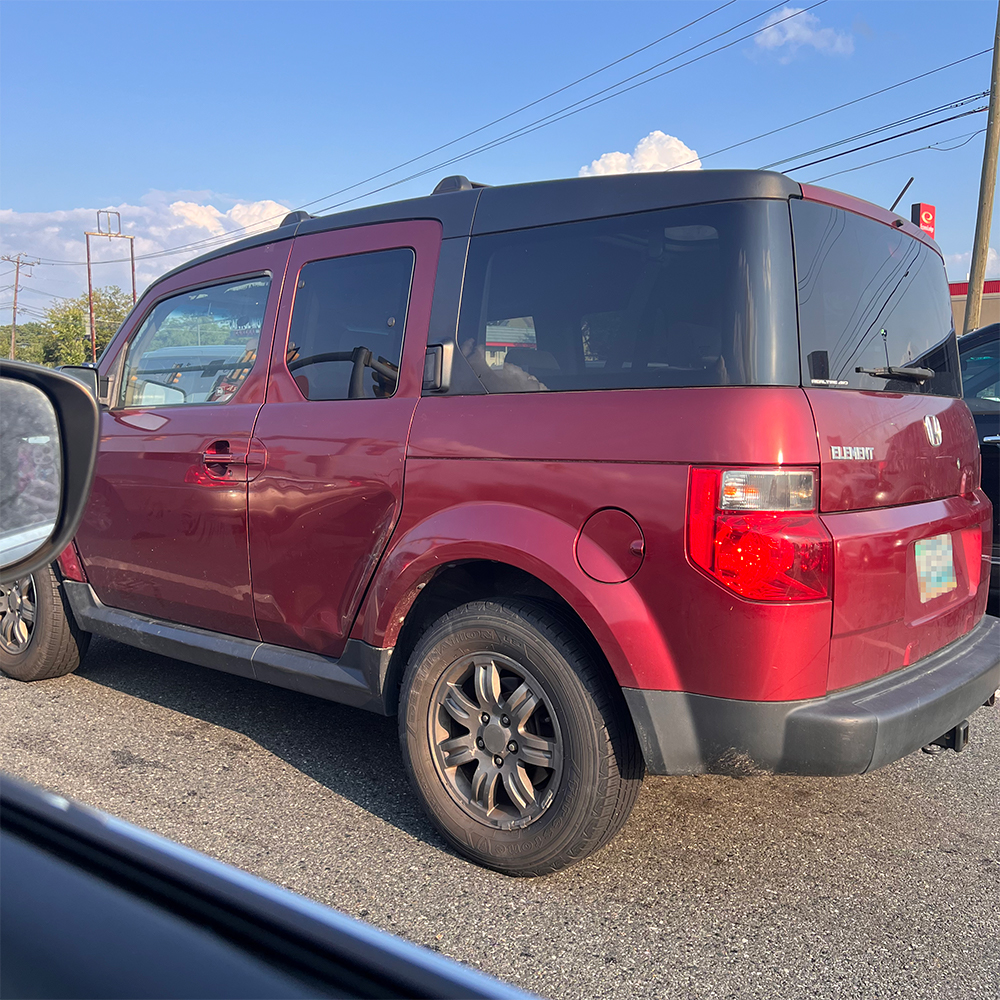
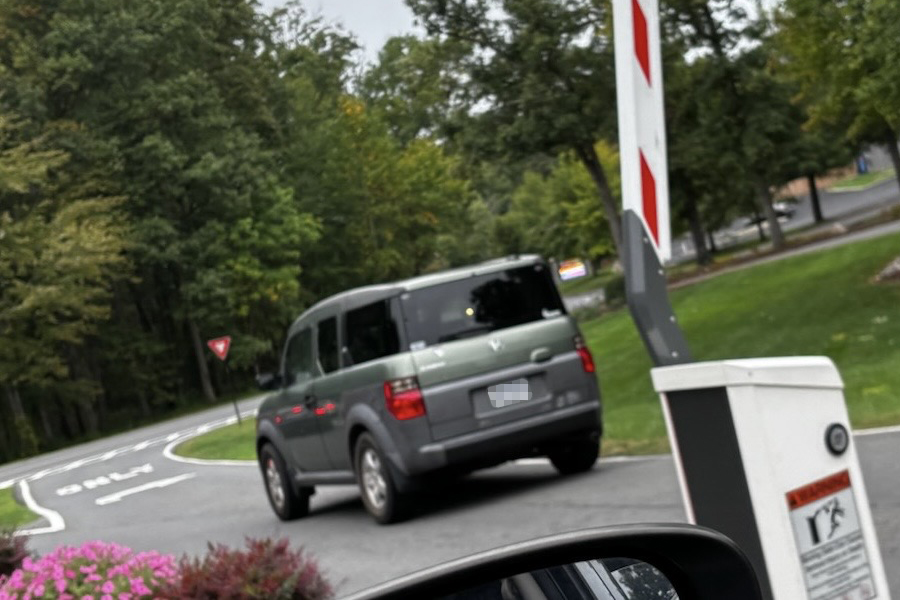
Note 1: I want to see your Element photos! Please send them to: morgan (at) newsaint (dot) org. I’ll blur out license plates, faces, etc. to keep people’s privacy intact.
–
2024-10-01 - original article written 2024-10-09 - revised and updated
