2024-07-23

Element Spotting (3)

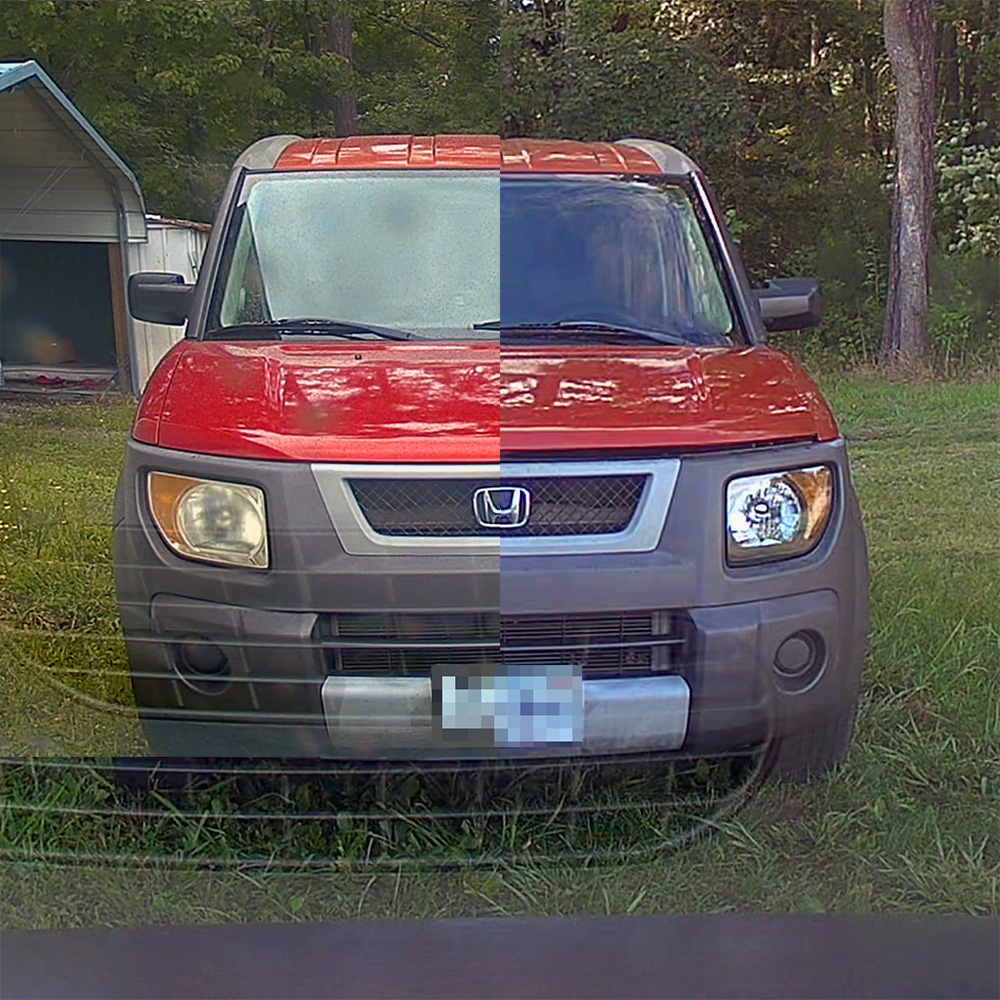
The last few days have been full of excitement and frustration. My new car is nice, but has some minor underlying issues that I wanted to take care of before I put too many miles on it.

01: Air Filters
There are two slab-style filters in the cabin and a cylindrical one in the engine bay. The engine filter was swapped without much trouble; just four screws and moving some hoses is all it took. The cabin filters were much more involved; first you have to drop the glovebox, then you have to remove a little plastic door, then you pull out both filters. This last part was the most troublesome as the filters seemed anchored in place. I gave them the ‘ol heave-ho and they popped right out… alongside some rodent crap and goddamn CHICKEN BONES. A lot of them!

I tossed the larger pieces, vacuumed out the spilled mess in my passenger seat area (as well as what I could get to under where the filters go), popped the new filters in, and reassembled. I then promptly started the AC, sprayed one of those Ozium car bomber things, and let it cook for a while. This helped the smell a great deal, but it kind of came back a few days later, much better than before though. I’ll clean the engine bay and air intake more soon.

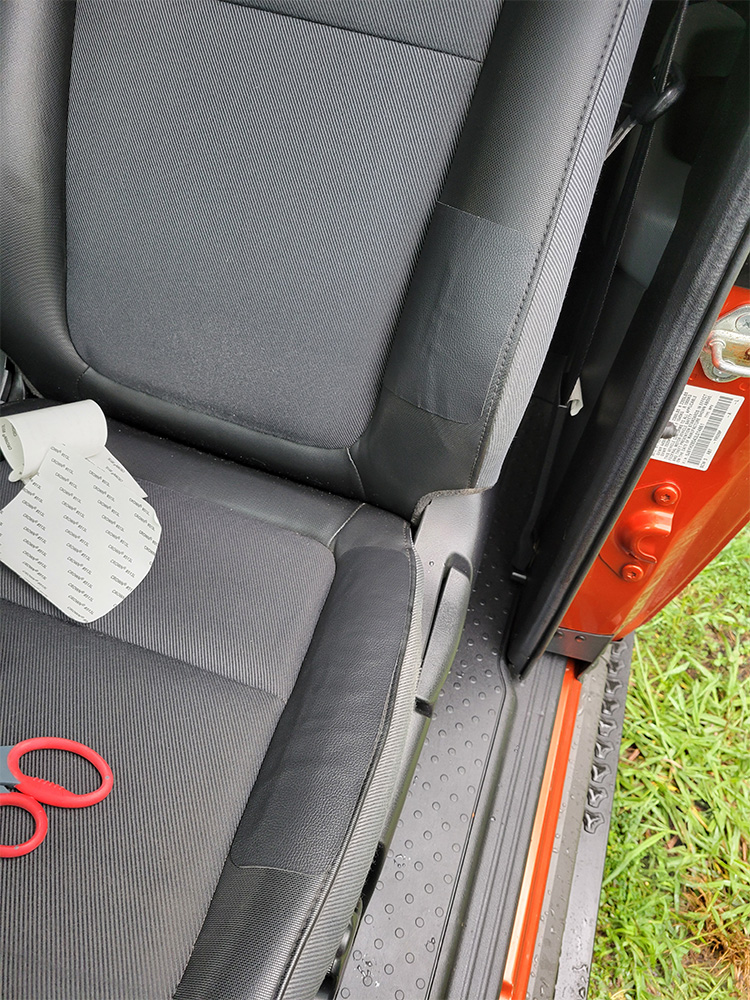
02: The driver’s seat
Mine—like almost all Elements—has a front-to-back tear on the driver’s seat, on the side closest to the door. I purchased a leather repair kit on Amazon for about $6 and cut it to fit the seat, applied it with a hairdryer, and it seems to be holding up well enough. I have another sheet if I need to make a replacement patch in a few months.

The faux leather patch on my driver's seat
The faux leather patch on my driver’s seat

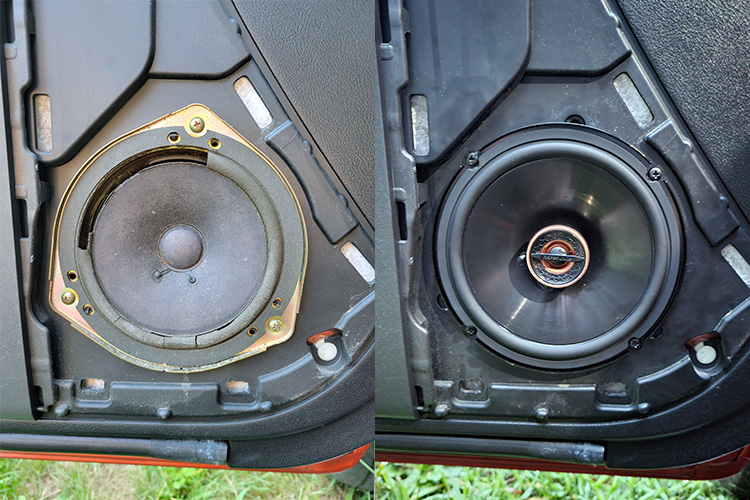
03: Speakers
The OEM speakers in a lot of the Elements I’ve seen have been blown or are just disintegrating. I suppose those materials just weren’t designed to last 20+ years. I replaced the four door speakers with Harman Infinity Reference 6532ex’s, about $140 total as I got them refurbished with a $10 speaker adapter cable set. The sound is much better and they seem to pair well with the existing subwoofer and tweeters.

A before-and-after of the speakers in my E

04: Spark Plugs
The existing plugs were probably original and while they showed some discoloration, the ceramic wasn’t cracking and the electrodes weren’t too badly corroded, so I suppose they held up well. I replaced them with a set of NGK Laser Iridium 6994 plugs, cleaned and greased the existing coils, torqued it all to spec, and the engine fired up without issue.

05: Oil Change
When buying a used car, fluids are tricky as it can be difficult to know when if they were changed and if they were done properly (they weren’t). I already had a new jug of 5W-20 High Mileage oil that I planned to put into my current car, but I have a few miles left until that time comes, so I elected to use it for the Element. That was the easy part, it turns out, the last guy to put an oil filter on the engine was invigorated by Hercules himself and it was completely stuck in place. This was quite the issue for me and turned a thirty minute oil change into a four-hour long living nightmare with multiple trips to the hardware store and to a garage on a nearby property.

Turns out, a major design oversight with the Element is the placement of the oil filter. It is situated in a hard to reach space and even with small hands, I wasn’t able to comfortably reach it, much less get any sort of grip onto its slick surface. I tried three different oil wrenches; an adjustable clampy kind, an adjustable rubber grippy kind, and a 64mm oil filter wrench specifically designed for OEM filters. None of these provided any amount of traction and I was unable to loosen it at all with them. I resorted to finding a hose clamp, wrenching it onto the cheapo filter with similar vigor, and tapping it with a screwdriver / hammer combo until it finally gave way and unscrewed. I replaced it with an OEM filter marked with the date and mileage, filled the oil up, drove it for a minute or so, topped it up to get it to full, and called it an afternoon.

My E up on ramps while I changed the oil and headlight housings

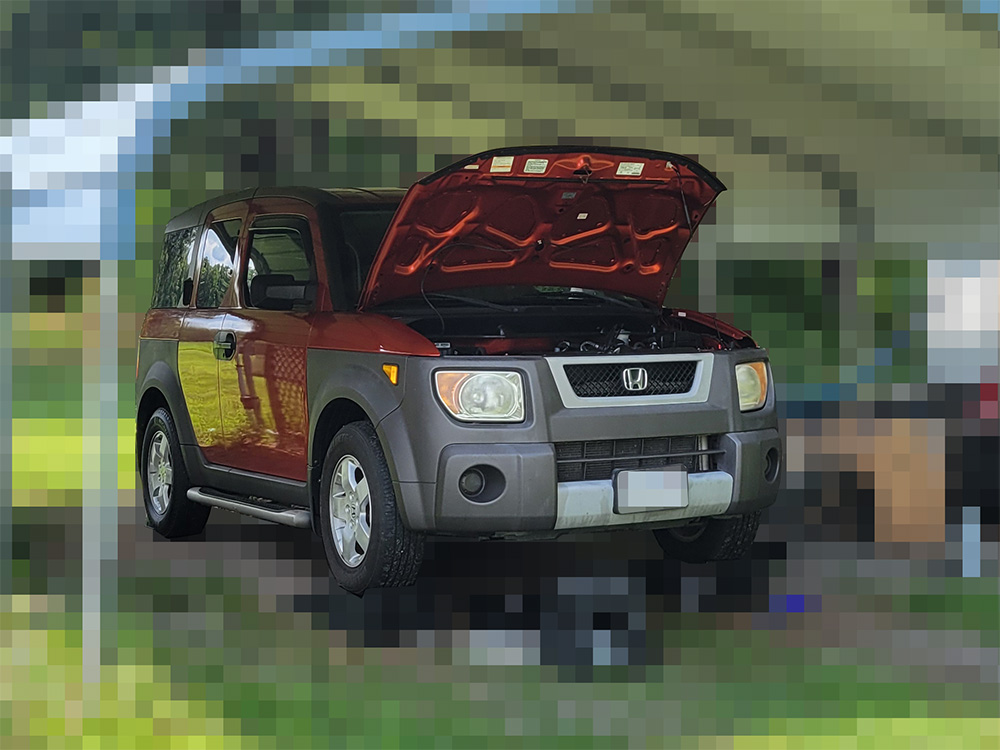
06: Headlight Housing
But the afternoon wasn’t called quite yet as my new headlight housings came in and I already had the car up on Rhino Ramps so I may as well take the opportunity to yank off the bumper cover, vacuum out some more chicken bones, and pop in the new headlight lenses. The old ones were kind of yellow and while they were in usable shape, I like a crystal clear headlight and the replacements I ordered were a black-accented set for about $120. The install was quick and easy, I even replaced some of the cracked / missing clips from the bumper cover.

A before-and-after of the headlights on my E

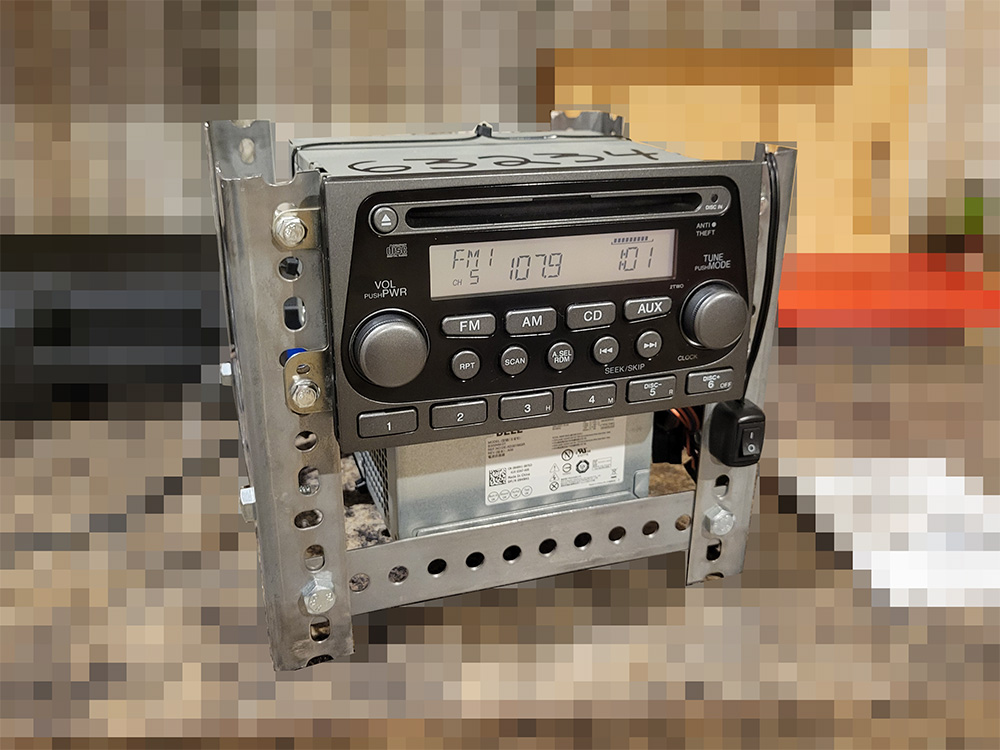
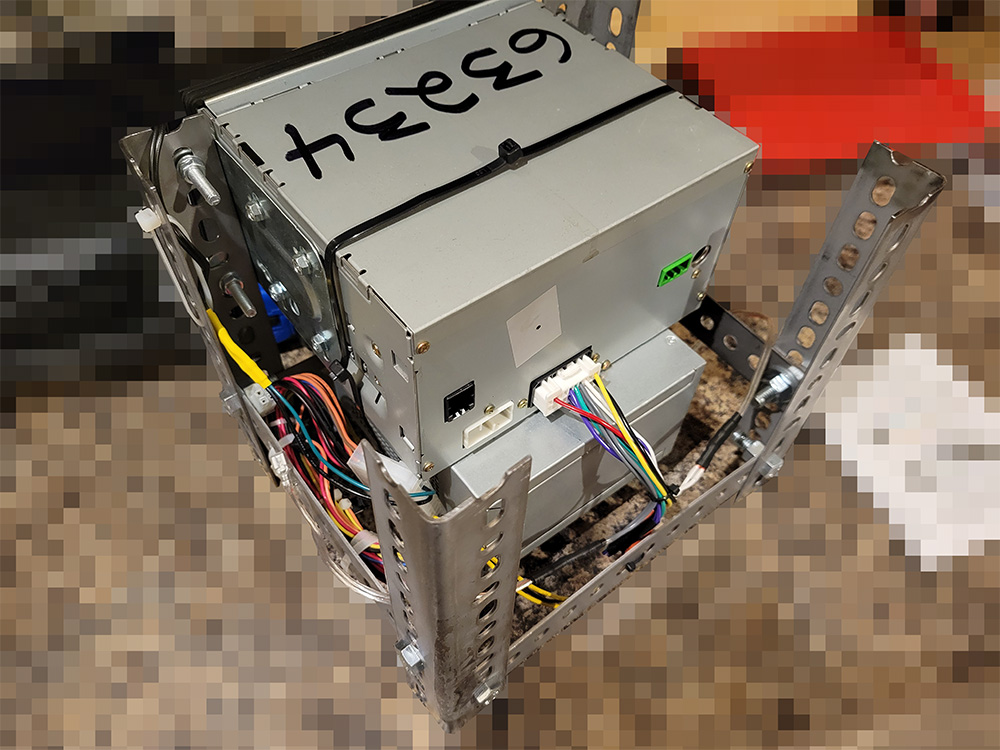
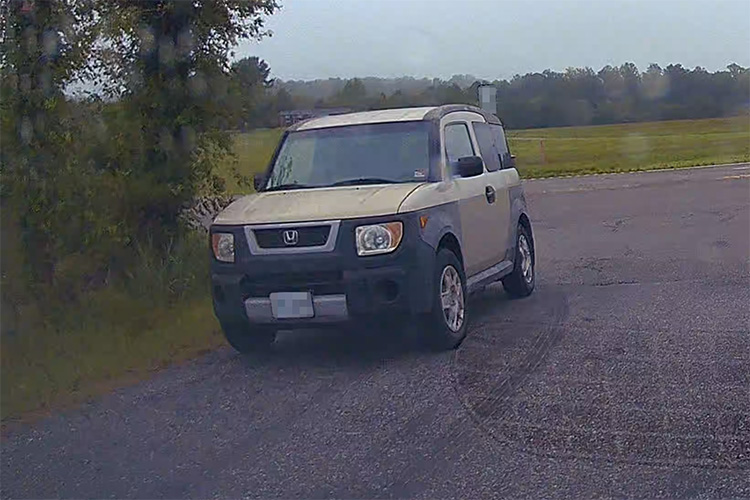
07. Radio
One of my excursions to the local car scrapyard netted me a car radio from a 2008 Element. It was a tad rusty and needed some TLC, but I took a gamble and spent about $40 on it. I took it home, completely disassembled it, cleaned the hell out of it, snapped it back together, and… that was it for a few weeks. I bought the radio before I had an Element to test it in so all I could do was guess as to whether it was working or not. Another issue I didn’t anticipate was the anti-theft system Honda put on their radios. You need a 5-digit code to “unlock” the radio whenever power is removed from it. I took a photo of the car as well as the VIN when I took the radio from the parts yard and I’m glad I did as it was just what I needed to get the code from Honda. I also grabbed the surrounding snap-on plastic trim as I wasn’t sure if I would need it, turns out I did need it as the 2003 radio’s shroud didn’t fit on the 2008 radio.

To test the radio, I actually assembled this weird little box that consists of a Honda radio harness connected to a computer power supply with the radio on top and held together with metal strips and zip ties. While janky looking, this machine allows me to power on and test Element radios safely. I plan to connect a pair of car speakers to it in the future and create a de facto shop radio with a CD player. This contraption help the ‘08 radio for a few weeks, but I eventually swapped it into my Element and put its ‘03 radio into the shop radio box. The speakers come in a few days, I’ll give you an update when it’s all done.

My sketchy Element radio tester (Obverse)
My sketchy Element radio tester (Reverse)

08: Hatch Struts
On a lot of Elements, the rear hatch supports seem to fail after a number of years. Mine still held the hatch up, but had trouble raising it without manual assistance. Per a forum comment, I opted to replace mine with a pair of VW Beetle struts from Amazon. $20 and 3 minutes of install later and my hatch opens up quickly and a few inches taller than it used to. The struts I got were these ECCPP 4325 Rear Hatchback Lift Supports

09: LED Lights
As far as I know, there are only nineteen light bulbs on an Element, not including the dash and HVAC system; Two high / low beam headlights, four turn signals, three brake lights, two reverse lights, two side markers, two license plate lights, two map lights, and two dome lights. I have replaced all of these with LEDs of appropriate colors and they are brilliantly bright now. The only lights that are still incandescent are the headlights, I have an LED set coming in a day or so, but I don’t usually like them and I’m not sure if I’ll keep them yet. While replacing the lights, I cleaned up the various mounts, housings, and lenses to make them look a little less dirty.

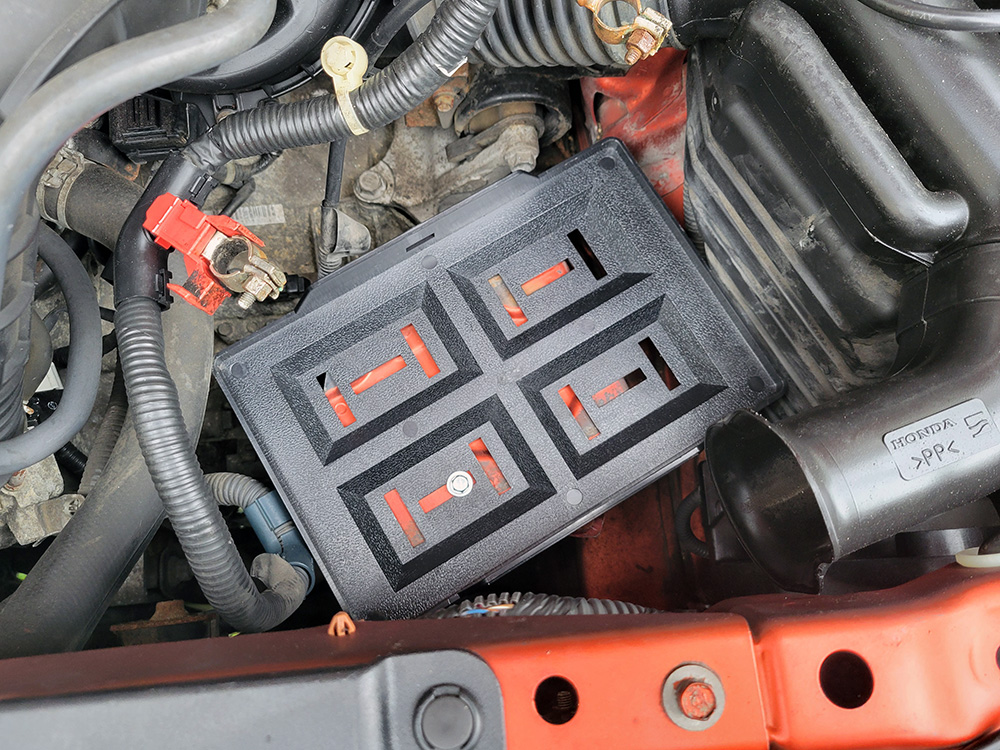
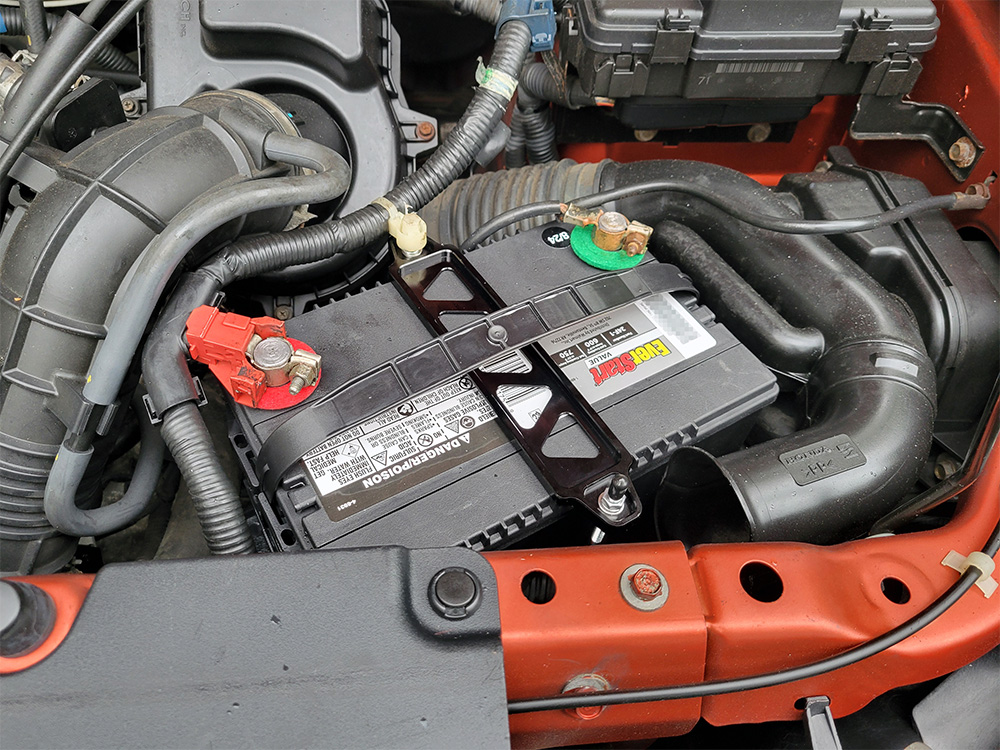
10: Battery
The standard battery in an E is a Group 51R battery and in my case, it was listed as having 500 CCA. This battery is widely regarded as undersized, so I elected to replace it with a larger, group 24F battery. The cheap Walmart one I grabbed ($70 + $12 core charge) states to have 600 CCA. To accomplish this install, I bent the existing battery tray tie down tabs flat, bolted on a universal battery tray ($10) on top, and dropped in the new battery. A $10 tie down kit solidified the upgrade and made it a clean install. I cut the J bolts for the new tie downs about 20mm shorter and used some threadlocker on the battery tray bolt to help with vibration. I was even able to reuse the little zip-tied cable loom clip that connects to the J bolt to keep those cables from rubbing on the bare metal.

The new battery tray and single bolt
The new battery completely installed

11: Tires
While the back two tires on my E are Michelin, the date code puts their manufacture date in Q4 of 2013, far too old for safe use, not to mention the dry rot creeping around the tread. The front tires aren’t much better. While they are only two years old, they’re a no-name brand and should be part of a matching set. I opted to get a new set of Crosswind All Season Light Truck tires from Walmart. I’ve never cared much for fancy tires and I’m pretty cheap, so I think these’ll be fine for a while. My first stop after the tires is to get an alignment though as it’s such an important step that a lot of people seem to gloss over after getting new tires is to get their car properly aligned.

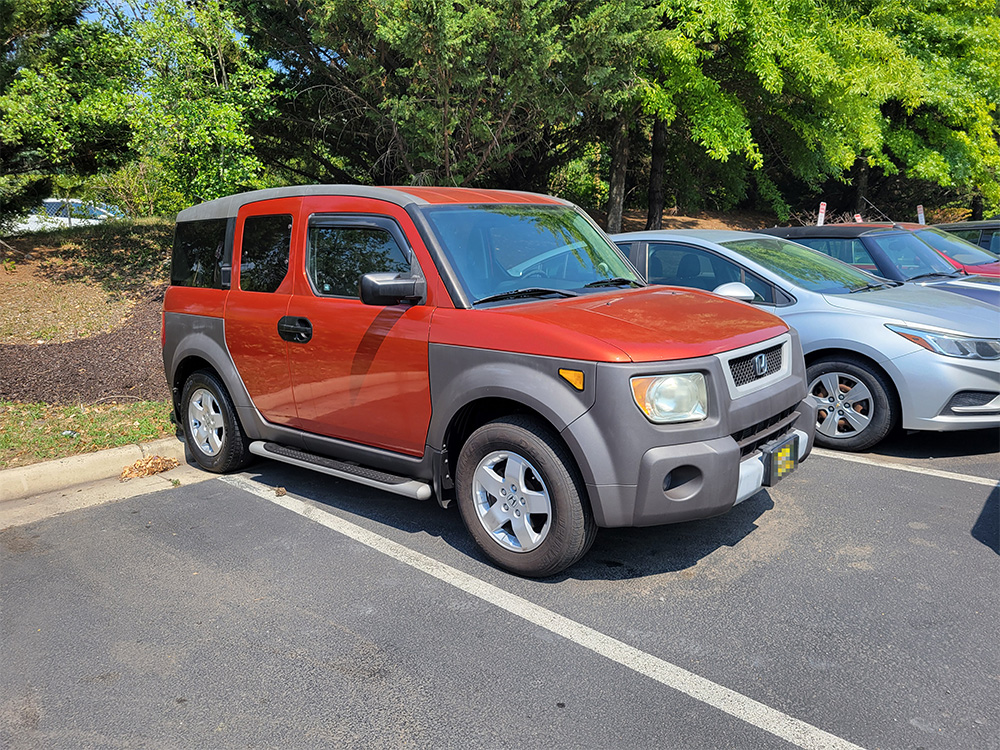
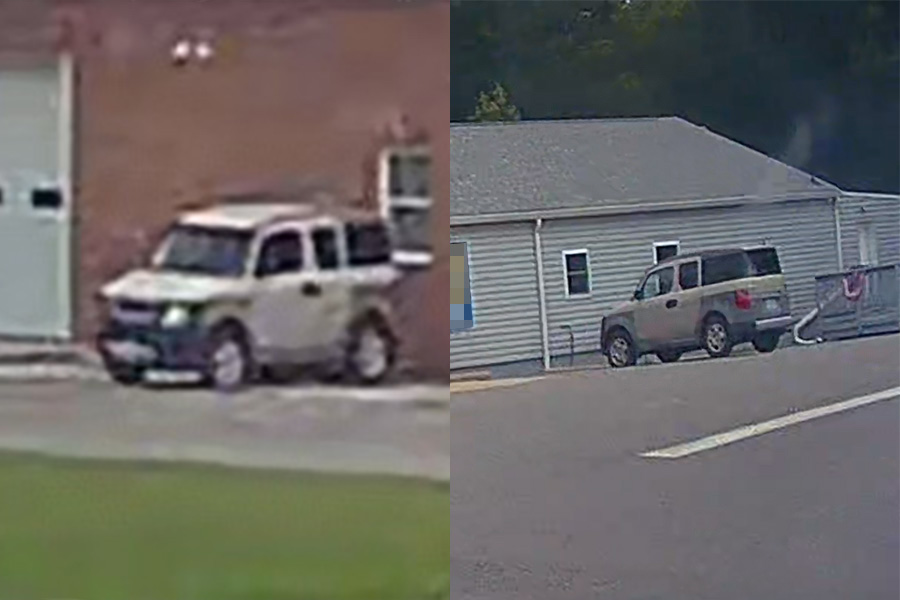
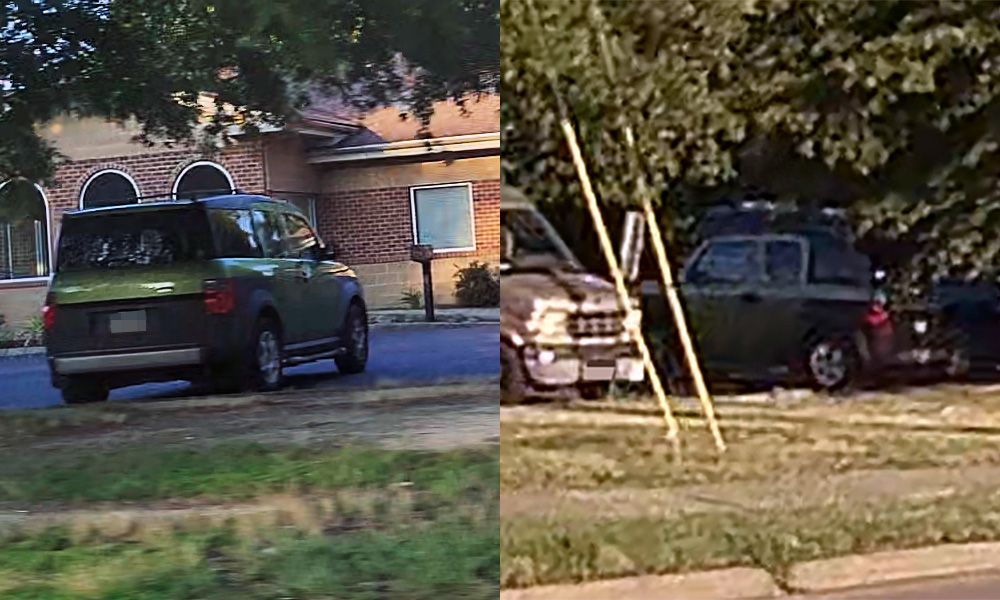
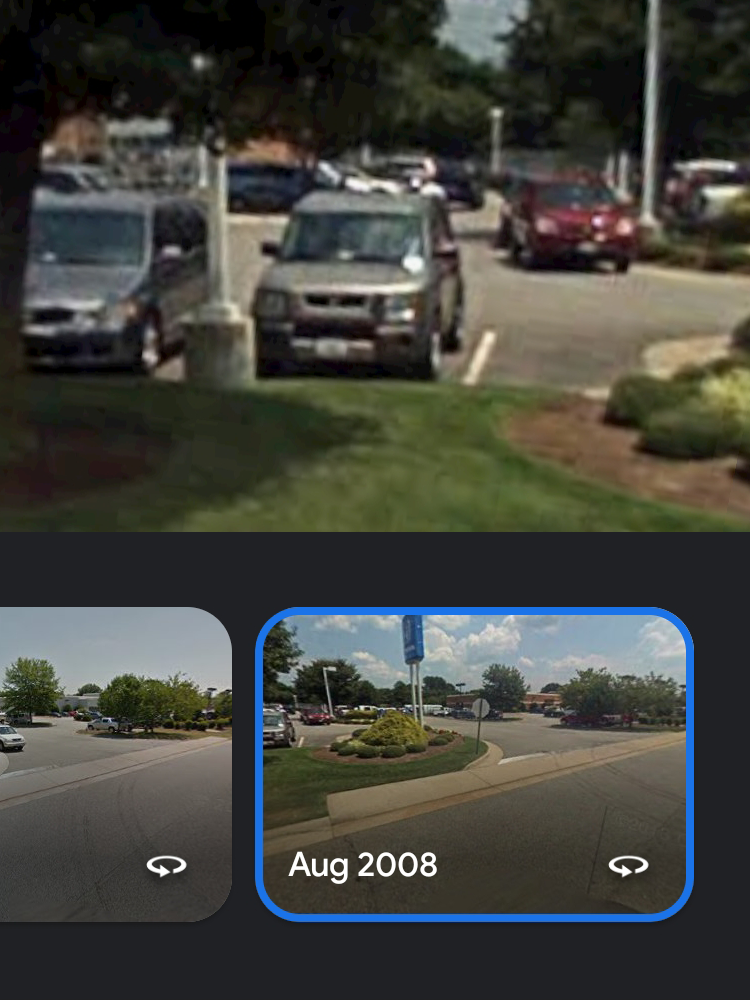
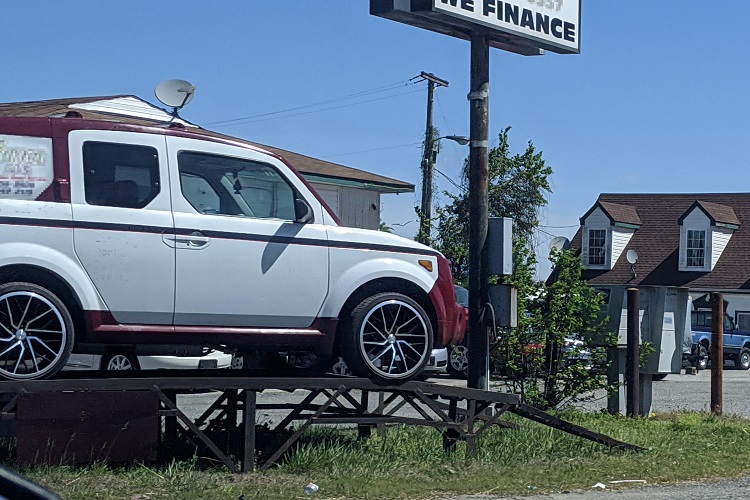
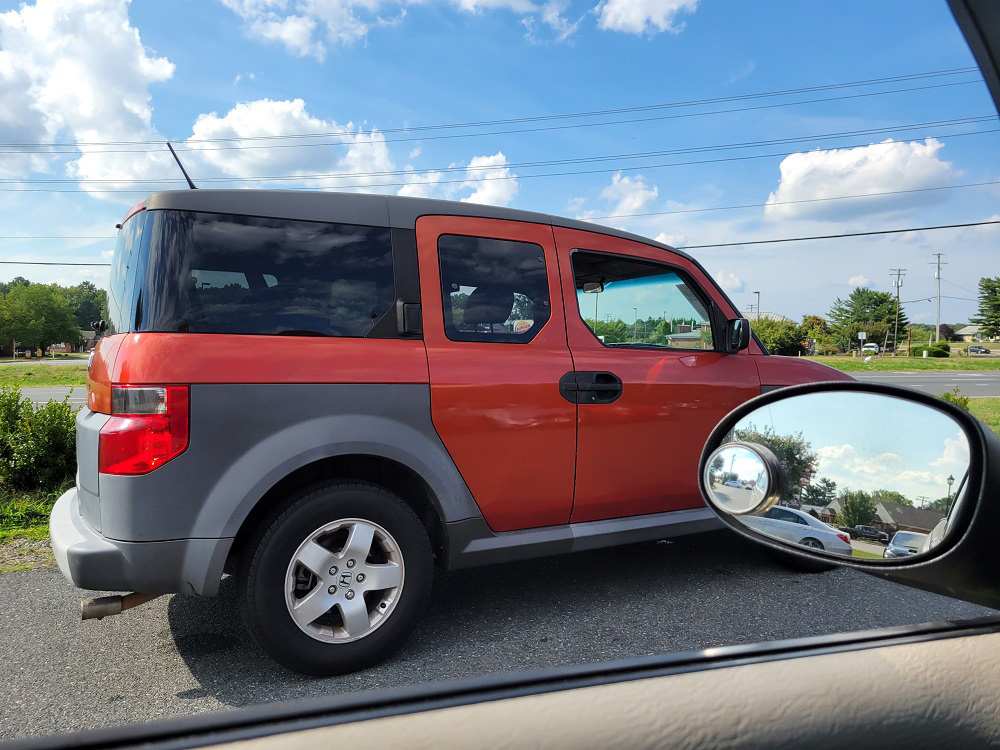
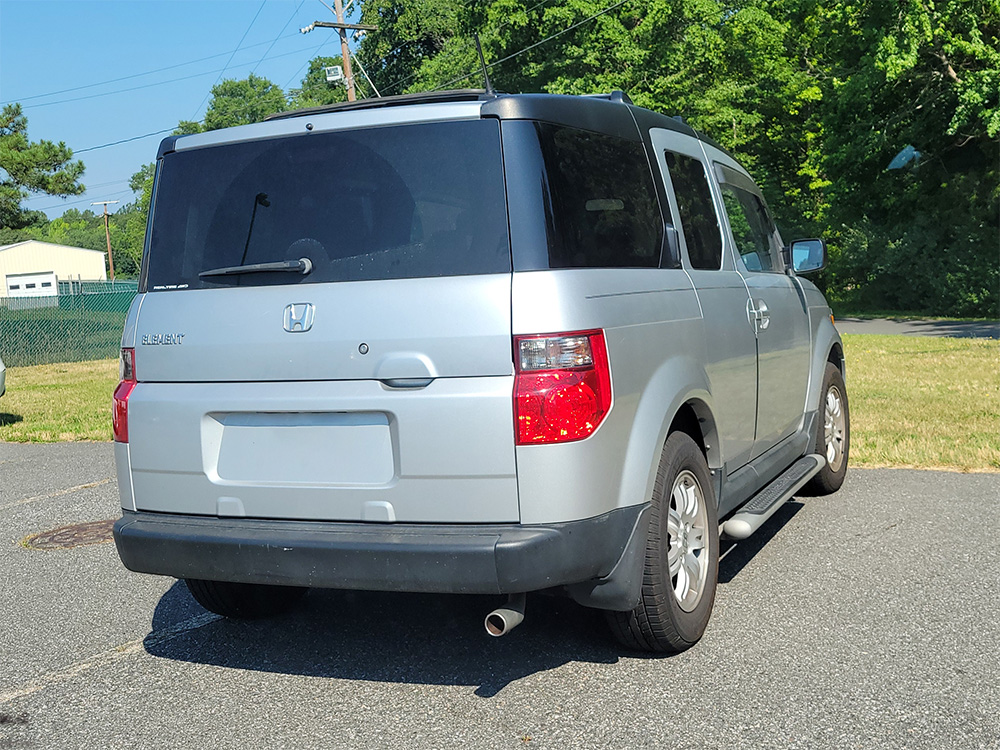
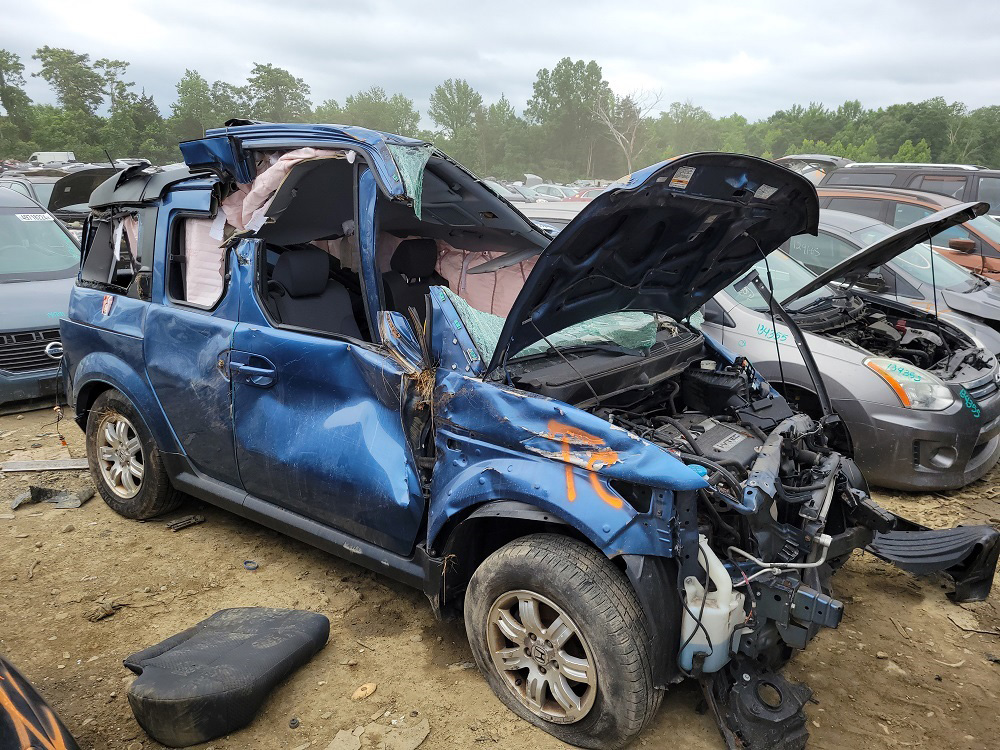
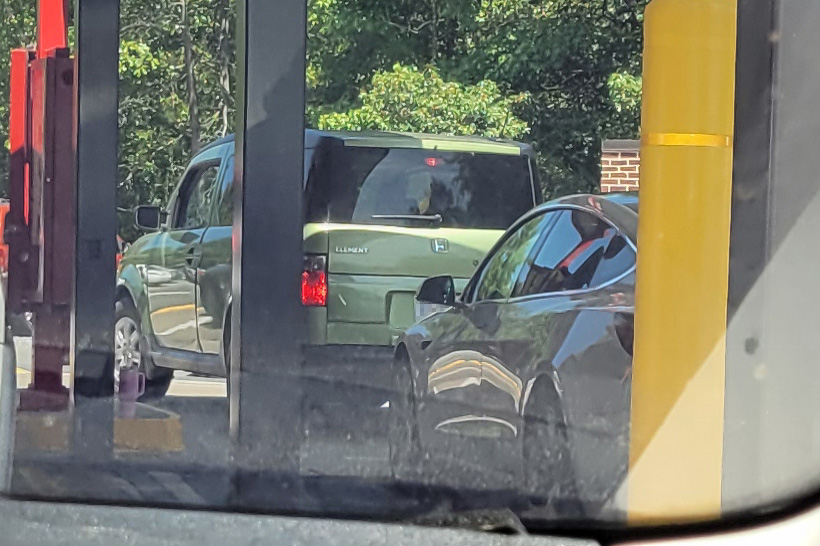
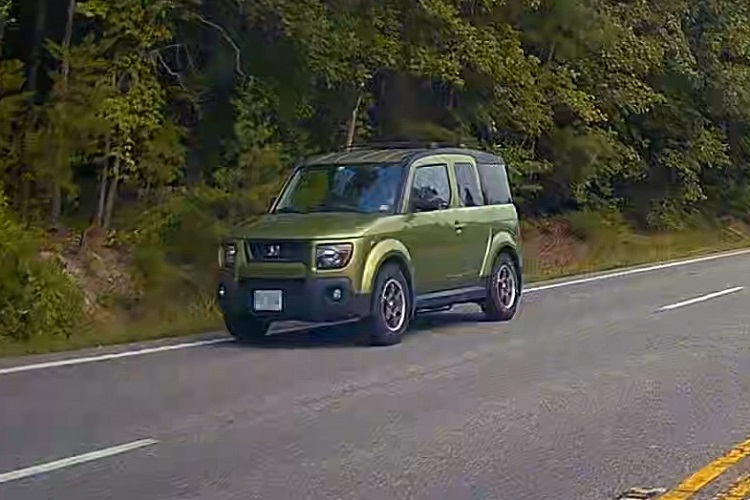
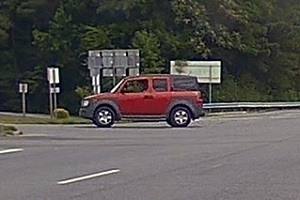
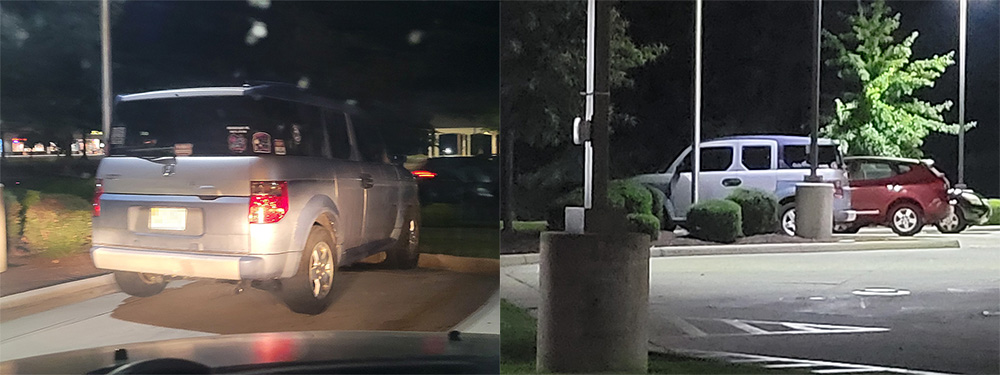
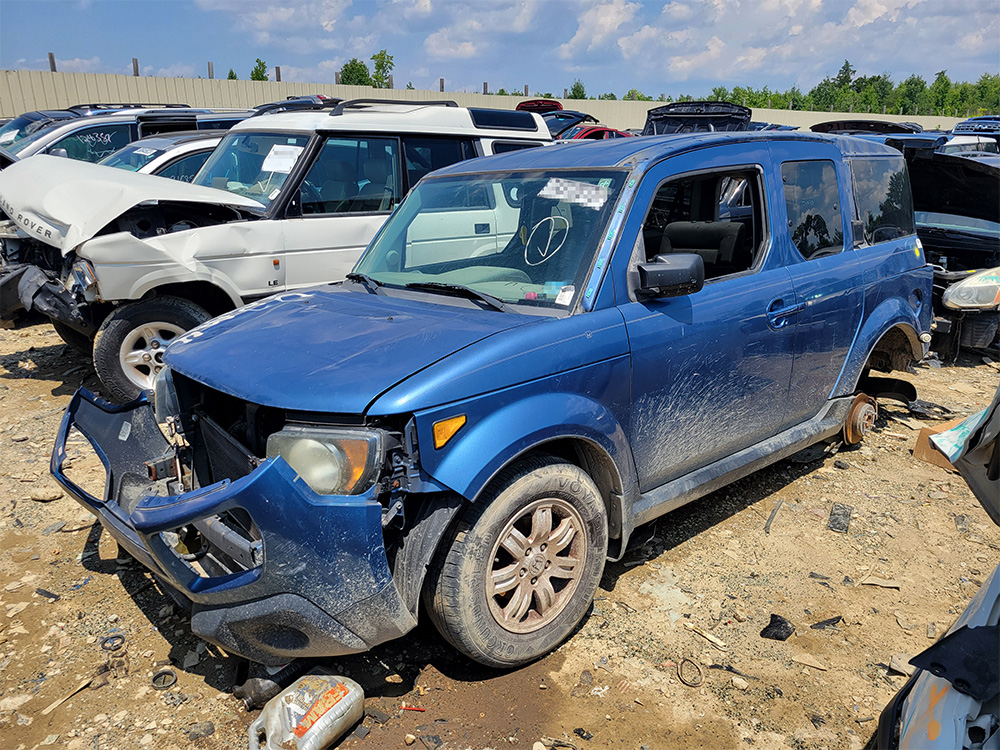
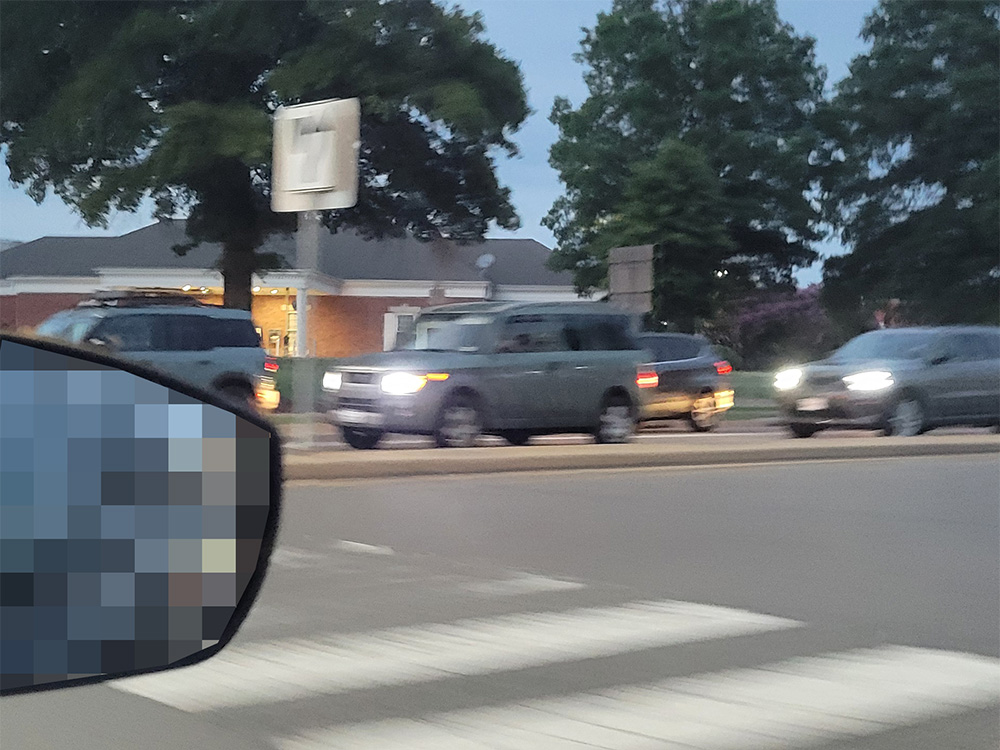
Note: I completely forgot to finish this article before posting it. I rounded off the last paragraph so it should be good now. Part 4 is coming later today (probably). Bur for now, please enjoy the Elements that I’ve spotted recently:

A Silver and Blue Element at the gas station
Another Blue Element at the junkyard
A Green Element in traffic
A Khaki Element near my house
A Khaki Element near my house (I believe it’s the same one from the last post)

2024-07-23 - original article written
2024-08-08 - article finished

2024-07-19

Element Spotting (2)

Tuesday, July 16th of 2024 was the day that I finally bought my 2nd car. I was fortunate to find a 2003 Honda Element in Sunset Orange Pearl with a mere 129K (rust free) miles on it just a few hours’ drive away. I called off work, drove up there, and spent the afternoon haggling with an Arabic kid, trying to talk him and his dad off of the $8K that they wanted for the E.

Before I expressed any specific interest, I made sure to (literally) crawl over every inch of it and take in the total condition. I tested the windows (more on that later), the locks, looked for rust, checked panel gaps, respray, chips, scratches, tires, etc. I even scurried under the damn thing to check the mission-critical undercarriage.

The main sales associate tossed me the keys and basically said “have fun”. I took it for a twenty minute test drive on the nearby street, highway, and I even tested the braking power in an abandoned parking lot. I came back, pointed out the mismatched tires, small amount of wear ‘n tear, and the rusty bumper but they wouldn’t budge far off of their sticker price.

Unfortunately, I’m not much of a haggler so I was only able to knock off the paperwork fee; a $600 (in my case), bullshit charge for selling me a car and filling out half-a-dozen pages of simple paperwork. I paid cash, signed some documents, and was on my way.

My Orange Element in the dealer's lot
My Orange Element in the dealer’s lot

The drive home was helpful as it gave me a much longer-term idea of the drivability of the Element—my Element—as well as some of the issues I noticed.

01: Windows
The passenger window seems to only work intermittently. It worked fine when I tested it not two hours earlier, but it seemed to have died in the interim.

02: Noise
There’s some high-pitched squeaky sound that revealed itself at around 72mph and wasn’t noticeable at significantly higher or lower speeds.

03: Drivability
The overall suspension and alignment need attention. I plan to address those before I put too many more miles on it.

I got it home, spent a while buffing out the goddamn Armor All, and eventually got it to a slightly less oily condition. The interior, seats, body, and trim are in remarkably good condition though. I plan to rust-proof it, rub some conditioner into the plastic trim, and coat the paint with a simple rub-on, wipe-off wax.

At the request of my coworkers, I drove it to my office the next day and they all took a look at it out in the parking lot before the day started. I showed off some of the obvious features including the folding seats, suicide doors, and hatch / tailgate.

I really only plan to drive it as a secondary vehicle; at least until I can replace the fluids, change the tires, and get the whole thing aligned.

This weekend, I plan to change the oil, swap all he lights with LEDs (except the headlights, those stay halogen [Note: I’m testing LED headlights this week]), swap the air filters (cabin and engine), de-stinkify it (smells like undesirables), and replace the hatch struts as they aren’t very weak, but they don’t lift up much on their own. I’ll take some pictures and include in the next entry, but for now, please enjoy the Element pictures I’ve captured on the last few days:

A Khaki Element on my drive home
A Green Element in a nearby town
A Blue Element in a parking lot
A Green Element that I found on Google maps (Aug, 2008)
A Craigslist ad I put up while looking for an Element

2024-07-19 - original article written
2024-07-25 - revised and updated

2024-07-09

Element Spotting (1)

Somewhere around 2018, a longtime friend of mine recommended that I ditch my 19-year-old, spray painted, dented up, rust bucket for a Honda Element. I basically ignored his advice for a few years as my cheap ass is way too stingy to buy a half-decent car for what those crook car dealers want and my current car works fine (most of the time). Cut to a few months ago, I’m leaving a Walmart parking lot and I see a 1st gen Element (2003-2006) sitting a few spots away from me with a For Sale sign in the window.

I walked around it for a minute, took some pictures of the sign and number, then realized there were people in the front seat (whoops). The guy was nice and showed me around the vehicle for a minute, started it up, and let me know the mileage (220,000 mi) and the price ($3,000 iirc). I thanked him and thought about it for a few days. I decided I should go for it and texted the number. Unfortunately, the car was sold the day before. Bummer.

A few more months go by and I don’t pay the Element market much mind. I happened to drive past a used car lot and out in front there sat an Element being used as a billboard to advertise some local mechanic. I jotted down the number and gave it a call later that day. The man said that the sign isn’t available for sale, but he did have a 2003 black Element for sale, 240K miles, and priced to move. He sent me some photos of it and then stopped responding to my texts. Another bummer, perhaps it sold.

The Billboard Element

Couple days later, I see a black Element parked next to a few cars on the side of a road that I pass going to work. There was no For Sale sign or contact info. so I had to do a bit of detective work. I found the house on Google Maps, found a business that was right behind it and cold called them. A man answered, I asked about the Element and he gave me the number of the man who owns it. It matched the number of the Element from the billboard! I found the car and it hasn’t been sold yet. I called the number and spoke with the owner again, let him know that I drive by the car daily, and that I’d like to see it if possible. We set a date and time, I showed up, and he gave me the grand tour.

The car was dirty, not well maintained, had some really sketchy lower kit on it (basically some U-bolts on the shocks), cheap tint, broken or missing panels, and some other cosmetic issues. I gave it a quick test drive, turned down his $2,700 cash-in-hand offer, and went home. Bummer #2.5.

In May, I won an ebay auction for a 2005 Honda Element EX with 104K miles on it in Satin Silver Metallic with a Surf Blue accented interior. No mechanical issues (more on this later), a cheap shipping quote, and a moderately high ebay seller rating made me confident that the car would be fine if not great.

A week after I sent my bank wire and signed all the paperwork, I message the seller to see when I’ll get my car. She (Annie) says that they’ve put the job up on the shipping site and that it’ll go out next week.

A week later, she says that the Element has developed a transmission issue and her mechanic is looking into it.

A week later, she says that they’ll put a replacement transmission in it free-of-charge and they’re waiting on parts

A week later, she says that the replacement transmission failed and it’s still having trouble shifting.

A total of 35 days after I paid for my car, they call me and say that they’re going to refund me the full amount and keep the car.

This seller (jetafel on ebay) is incredibly shady and was terrible about communicating the status of the car that I already paid for ($7,000 after shipping and “processing fees”). I waited for my refund check to clear and once it did, I wrote up my ordeal in a jaded (but certainly true) ebay review. This was immediately appealed and removed by them, but at least it helped tank their seller rating. Bummer #3.

The eBay Element
The eBay Element

While I was certainly disappointed, I was not defeated. I began crawling all of the used car sites (AutoTempest is a great tool for that) in search of another Element. I traveled about two hours south of my home to see an Element I found on Craigslist with around 150K miles on it. I found the car, shook hands with the guy selling it, and began examining the car with a fine-tooth-comb. I peered in every little nook and cranny; I fired it up and took it for a spin; and I crawled underneath the damn thing while it was parked on the street. The results weren’t good; there was lots of rust, interior was shredded by dogs, and the owner clearly had no idea about the finer details concerning its condition. I turned down his $6,200 offer and drove home. Bummer #4.

With quite a few bummers on my mind, I wearily returned to the used car websites and began the search yet again. I even briefly turned to looking for a 2nd gen CR-V as they seemed to be a little more available, but I found out they are just as rare and desirable (I just want the little card table and the spare on the back door). Everyone wants upwards of $8K for a ~20 year old car that is reliable sure, but ugly as sin and not very powerful. I suppose there are more people out there like me than I suspected.

One of the Elements I saw a few times happened to be for sale just a few minutes from my work and the dealership had reasonable hours. I sent an inquiry and was met with some pushback as they insisted that their 2005 E with 128K miles on it was absolutely worth the $10K that they were asking for it. I scheduled to see it anyway and I went there after work yesterday to check it out.

This dinky little dealer was getting to be more lipstick than pig, but I gave them a chance, gave them my ID, and they pulled the Sunset Orange Pearl beauty around for me to test drive. The car was like the dealer—a polished turd. Sure it had pretty low mileage for an E of this antiquity, but the amount of paint respray, loose body panels, and weird devices wired into the engine bay made me sure it wasn’t worth my time, let alone $10K. I puttered around in it for about ten minutes, but due to traffic conditions, I wasn’t able to take it over 50 mph. I returned to the dealer, handed them the keys, and left without even discussing a purchase.

The Orange Element at the dealership

There’s another orange E about two hours north of me that I plan to check out this weekend. But in the meantime, I thought it would be fun for me to collect the Element pictures I’ve taken in the last few months and arrange them below, enjoy!

A Silver Element near my work
A Blue Element at the junkyard
A Green Element in a drive-through
A Green Element on my drive home
An Orange Element on my drive home

Bonus Story: I also briefly considered buying this rusted-out 1998 Dodge Neon for $250 as a favor to the owner and a project for myself. After finding out the totality of the damage though—it was sitting for about five years and the transmission was completely seized—I decided to turn it down. I did however see it at the junkyard a few weeks later, which was interesting.

A Purple 1998 Dodge Neon for sale
The same Dodge Neon at the junkyard

If there is anyone that has an Element that they’d like to sell, I’m a serious buyer and I have cash in hand. Please send me a message and I’d love to chat.

2024-07-09 - original article written
2024-07-24 - revised

2023-06-17

NASty Business

Over the last month or so, my poor co-workers have been my captive audience for many hours of discussion and rambling about my desire to upgrade / rebuild / replace my NAS (Network Attached Storage) solution at my house. Currently, I have three NASs: a Synology DS216j, a Synology DS418, and a homemade AMD Ryzen based system in my Fractal Design Define 7 case.

Synology DS216j NAS Enclosure

The DS216j was my first NAS purchased in the mid-late 2010s. Before this I primarily used an array of external hard drives, flash drives, and whatever else I could scrounge up to keep my stuff relatively straight and findable. With the DS216, I purchased two 4 TB Seagate IronWolf NAS hard drives for around $130 a pop. The 4 TB of usable space the RAID 1 setup provided was incredible and I quickly made use of this newly available digital real estate.

Synology DS418 NAS Enclosure

About two years after that, I got my first IT job and began to make some real money ($7.80 an hour), allowing me to buy NAS No. 2. Around 2019, my DS418 made its way into my home and into my heart. I backed up the DS216j, removed the RAID 1 array, formatted both drives, and slapped them into my new four bay enclosure. I picked up two more Seagate 4 TB drives (for around $115 each) and completed my first RAID 5 array. Now with 12 TB of usable space.

Four years later and the time has come for me to upgrade once more. I actually purchased a new set of four 8 TB IronWolf drives ($160 a piece this time) around six months ago, even going so far as to build my own NAS out of spare parts and some Unbuffered ECC DDR4 that I picked up on eBay. This system seemed to work well, but in the Define 7 case, it was just too unwieldly and cumbersome to implement in my small house.

I almost took the lazy route of cutting my losses and buying a QNAP TS-462 enclosure and calling it a day. But this unit is (at the time of writing, $470). This is too much for my tight budget so I decided to stick to the DIY path and build one on my own. This venture will require a bit of planning and some thrifty shopping, spanning a few different online retailers and continents.

CW-N5105-NAS Motherboard

Firstly, I need a motherboard. Something with an SOC and at least four SATA ports, a NIC, and preferably in an ITX form factor. I decided to go with an off-brand Intel Pentium SOC board similar to the unit pictures and that NASCompares brought to my attention in this video. The unit I went with was about $130 on AliExpress.

This MOBO has six SATA ports, four 2.5G NICs, two DDR4 SO-DIMM slots, and two M.2 NVMe slots. This should be way more I/O and connections than I need for my setup, but I’ll take it and consider it room to grow into.

Unbranded 4-Bay NAS Enclosure

Secondly, I need an enclosure. My Define 7 is a great case, sturdy, and with more 3.5” bays than I can afford to fill, but it’s very heavy and unwieldly for the small amount of components I planned to stuff into it. The perfect case for my needs would be rather small and closer to the form factor of a standard 4-Bay NAS, preferably with four or more 3.5” hot-swap bays, support for a standard Mini ITX board, and cost less than $100 (I’m not made of money).

I found the above no-name case that really fit the bill and for around $80 new on Amazon. Along with that case, I grabbed a Noctua 80mm case fan to replace the stock exhaust and four left-angle (?) SATA cables to better suit this chassis.

T.F. Skywindintl Flex ATX PSU

Thirdly, I need a Flex ATX / 1U power supply. This is turning out to be the most difficult component to obtain, at least for a reasonable price. Silverstone has a reputable unit, but I can’t justify spending another hundred dollars on yet another PSU to add to my collection. With a reputable brand out of the question, I’ll resort to a less-reputable source to obtain a PSU. With slim options, I’m leaning away from the cheap Apevia unit that is usually at the top of search results and toward some even less well-known brand named T.F. Skywindintl that I found on AliExpress, Amazon, and eBay.

The unit pictured seems to cover all my bases and (assuming it doesn’t blow up) should serve this build well. I’ll probably go with this unit on eBay for around $50, the 60-day return window offered by the seller is a plus too.

Once all these components come in, I may make a follow-up post that details any weird aspects of the build that may materialize.

Topton NAS N1
Topton NAS N1

Update 1: I sold both of the Synology NAS enclosures to a coworker, bought and assembled all of the parts I specified above for a custom NAS, and even purchased another NAS enclosure, the latest one being a Topton NAS N1 (shown above). This Topton NAS is fairly cheap and often sold as a white label enclosure through various different brands on sites like AliExpress (where I got mine). It has an AMD APU, 2x DDR3 SO-DIMM slots, 2x NVMe M.2 slots, and 2x 3.5” HDD bays. I replaced the generic fan with a Noctua branded one, but I had to zip-tie it on as the fan screws weren’t compatible with it.

The custom NAS has been working well, it’s pretty quiet, and was fairly easy to build. I started off the project with four 8TB Seagate Iron Wolf drives, one of which died right away and I sent it off in July to be RMA’d (six months later and I have still not received this drive back). I set this NAS aside until around October, then I spent a good chunk of change on four 16TB WD UltraStar drives. These drives in a RAIDZ2 gave me about three-dozen Terabytes of storage which should last me quite a while.

Currently, I’m using just these latest two NASs for storage; The Topton NAS N1 for media and a Jellyfin server and the custom NAS as general storage and backups.

2022-06-08 - original article written
2023-06-08 - revised and updated
2024-01-05 - updated

2023-06-16

JFP (Janky, Flimsy, Pointless)

JFP cables
JFP Cables

JFP1 (Jumper Front Panel 1) is the name for the header that connects a motherboard to the power switch, reset switch, Power LED, and HDD LED of the chassis. The cables can be quite annoying to connect in small cases and the motherboard doesn’t always label them, so I find myself referring to a pinout diagram often, such as the example below.

JFP1 Pinout Diagram
JFP1 Pinout Diagram

I dislike the implementation of this connector and I think PC case manufacturers should start using a single connector instead of four or five separate cables.

These cables use “DuPont connectors” to interface with the chassis and motherboard and they seem to be used in a lot of electronics and hobby applications. As an experiment, I ordered a set of 2x5 DuPont connectors to see if I could accomplish this unification myself. Referencing a JFP pinout diagram, I removed the wires from the case’s connectors, attached them all to the new DuPont connector, plugged it into a motherboard, and pressed the power switch.

It worked as expected and I now plan to outfit all of my desktop cases for the next century with this single connector. No more orientation guesswork, no more looking up “PC front panel pinout” or checking manuals. Some motherboard companies have tried to mitigate this problem by using labeled riser cards to make cabling easier, but my solution will permanently fix whatever case I apply it to.

Note: Since writing this section, I have applied these new DuPont connectors to half-a-dozen cases with great success. I will do it to all future cases I own.

2023-05-25 - original article written
2023-06-08 - revised and updated